I set a snare up in the living room and took pics of various snare parts and features of set-up, and these were the resulting pics. Here goes.
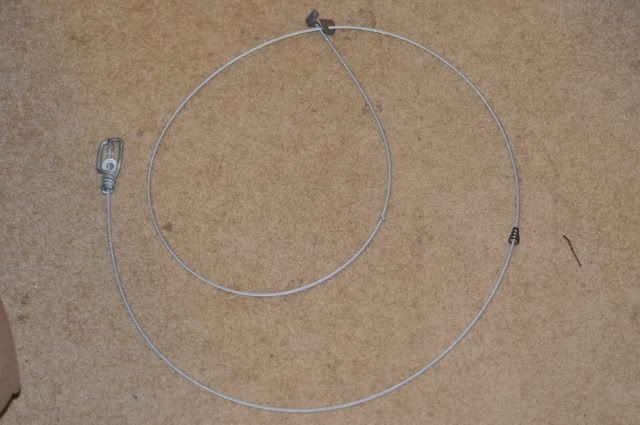
First, we have a fully completed snare, lying on the floor.
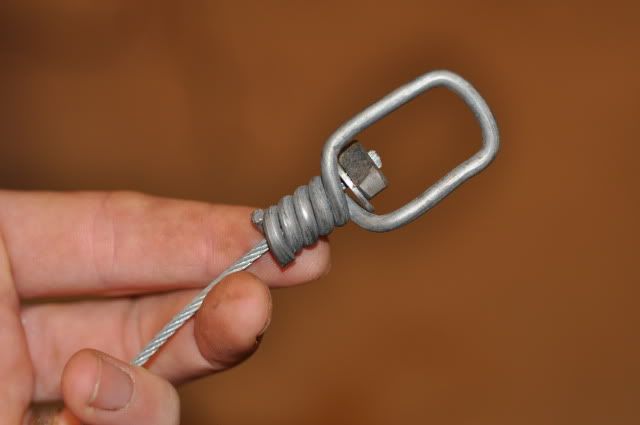
Then, I took a picture of the Swivel, or the end of the snare that gets attached to something SOLID to anchor the snare. Wire is my preferred method of attachment, and I pass it through the swivel and wrap around a tree or other sufficient object. The swivel keeps the snare from fraying when a caught animal may twist and roll, such as a beaver or otter, which are very prone to rolling. Not having a swivel can lead to a snare being twisted so severely that strands in the cable kink and break and the animal escapes.
Next is a shot of the hardware located around the lock. In this particular photo, several parts of the snare can be seen. The snare "lock", in this case called a 'washer lock', is what slides along the cable and tightens the loop around the animal's neck when the animal applies tension to the loop. It is designed to slide one way, or one direction, along the cable freely - but NOT slide the other direction, hence 'locking' the loop tightly around the neck for faster, humane dispatch of the animal.
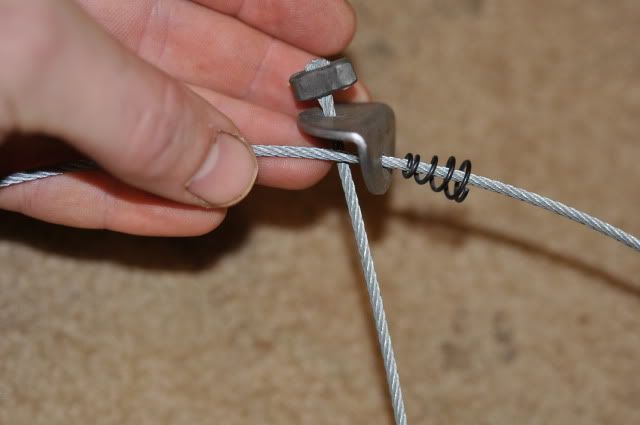
In this labelled repeat photo, the visible parts are labelled:

Now, let's say that the trail the animal is using goes right between the couch and the coffee table: :)
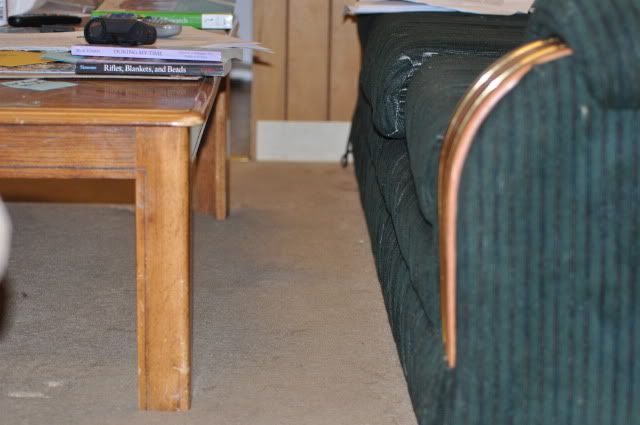
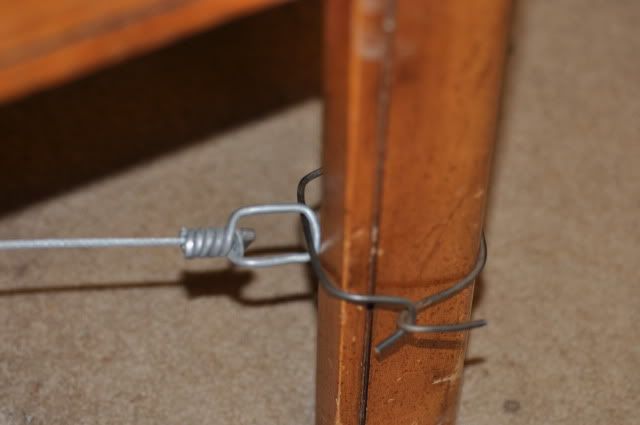
Assuming the coffee table leg is a "tree" or other solid object, I would attach the swivel end of the snare to it with wire: (AND I would make it more secure and permanent than in this pic....)
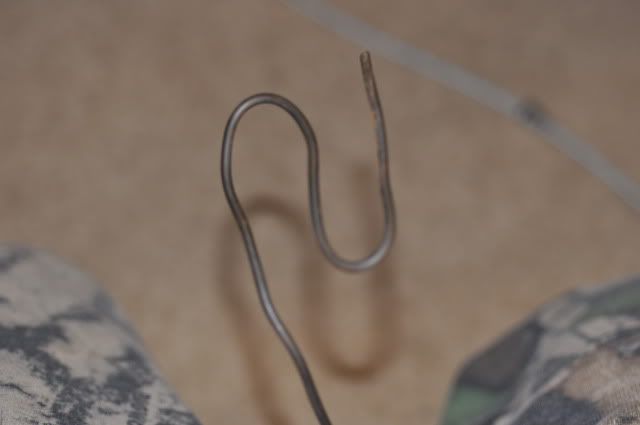
Let's say you don't want to trust the "whammy" or support collar - like me. I do not like them and usually do not even install them on snares I build. Instead, I bend a piece of #9 or similar wire into an 'S' or 'N' shape, like so:
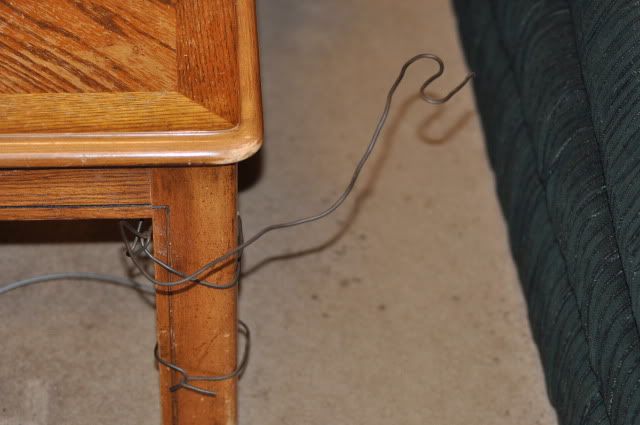
Then I attach the other end of the 'S' bend piece of wire to the anchor tree, like this:
Now you can weave the snare cable into the bends in this support wire in an "over-under-over" pattern, so the loop is supported properly at the right height for the target species.
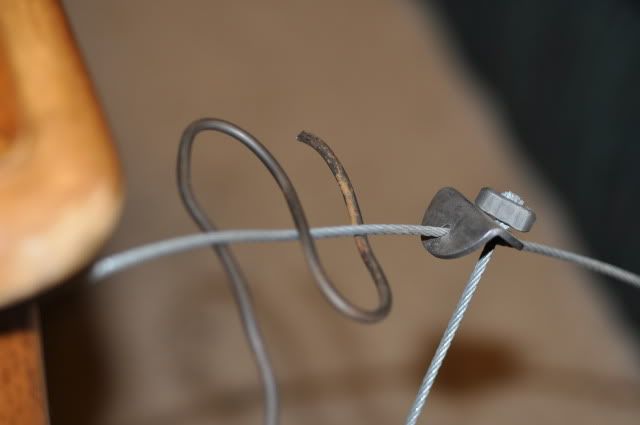
Now the snare is hanging in the trail, hopefully at the proper height and with a properly sized loop for your target animal.
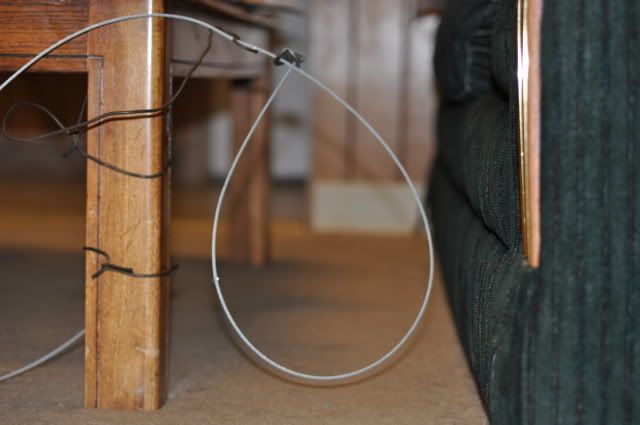
Note that the snare in this example picture is not necessarily hanging with the lock in the perfect position, etc - but we'll save that for another post - or maybe I'll come back and add it later... :)


No comments:
Post a Comment