Anyways...this season is still kind of up in the air, due to my duo of herniated discs and the resulting sciatica to be dealt with...and of course the 14-month-old roaming around the house disrupting any consistent, planned activity - but I refuse to let it go by me any longer...
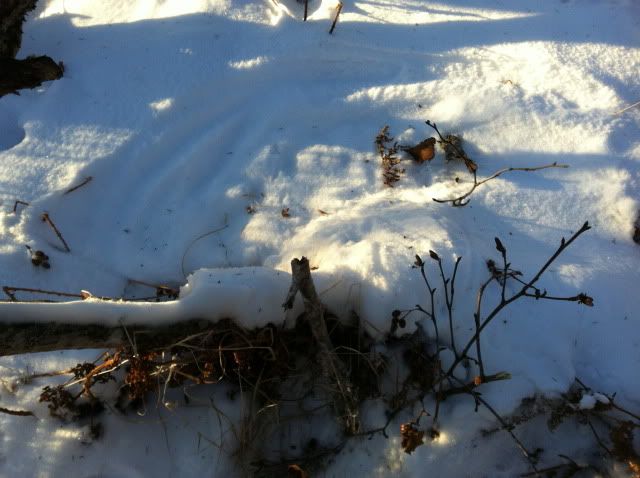
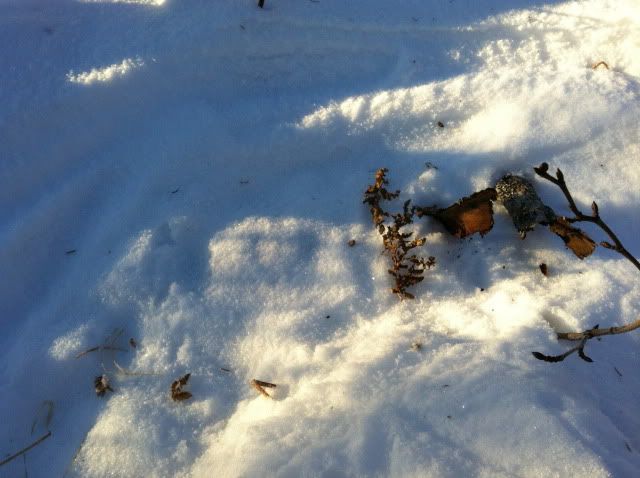
On Sunday, I noticed some weasel tracks while on the family walk. Luckily, I happened to have a weasel box along :) and it was promptly pulled out of the pack and set. The coming and going of the weasels was evidently due to the brush pile they were there to hunt for mice/voles/shrews. It seemed a very likely spot but we'll see...I have been after them (not really as a priority but rather a grudge) for going on four years now, and though I have always set on sign, have yet to catch a weasel.
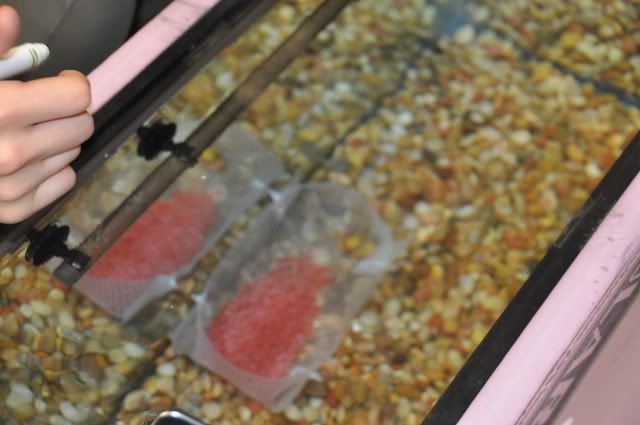
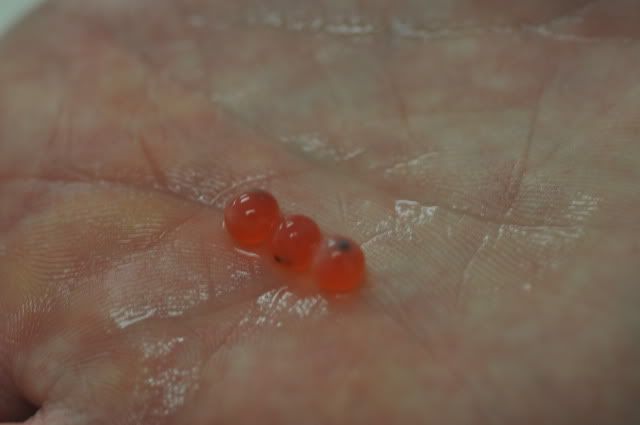
Here are two pics taken of the box in place, just off the brush pile:


After setting it the thought occurred to me, "You better set a foothold in front of the box as a blind set... because you know you're going to catch a mouse (AGAIN!) and then the weasel will come by and get your bait AND the mouse (AGAIN!) for free... and of course there is always the possibility of nabbing a marten or fox that comes through, just checking out the scent and box"... -yes, all that really did go through my head. :) -But I ignored it. :(
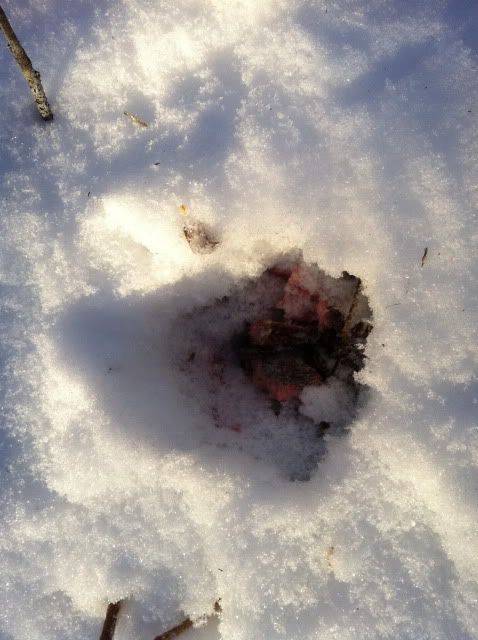
And here is why I shouldn't have ignored it. When I arrived today to check it, I found this:

Those two tracks say I should have had a bouncing red ball to greet me, if only I had listened to the little voice of reason...
So now I just HAD to make a fox set nearby, as I'll bet that he'll be back to check out that fine-smelling rotten moose meat inside the box. It was decided. Checking the weasel box gave me further incentive in the form of a bonus... I had caught a mouse. So, said I, it will be a snowhole set with bait, then.....
I checked the path the box-checker came in on, and found a nice spot only about 5-6 yards from the weasel box. In this pic, you can just see the weasel box at left. The black arrows show the tracks on the fox's path to the set (he has shown me his preferred route - less thinking for me) and the red arrow shows where I decided to put the set. A nice flat spot with a clean approach, just like they like 'em. The blue arrow shows the clump of brush and tree that would serve as the backing for the set:
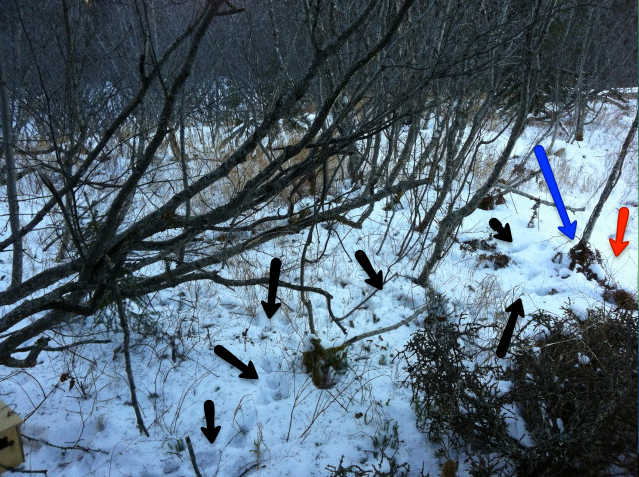
This situation called for making the set while leaning over it from the backing side...not how I would normally choose to do it, but makes for some different perspective on the pics.
Here is the first shot of the set before it began (actually, the wire has already been attached to the tree):

Here are a couple of shots of the trap placement - it is already sitting on the crunched up wax paper here...


And here it is partially covered in snow...

So, once it was completely covered, it was time to make the hole. Five inches from the center of the trap pan, and off center enough to make the trap offset, this time I offset to the right, based on the angle of approach the fox showed me. In dirt trapping, usually you dig the hole first, and place the trap second. In snow I often do the reverse, as 'cleaning up the set' after you make the hole is easier in snow.
Anyway, here is the hole with rotten moose meat AND a mouse for good measure. Again, these pics taken from above, as I was leaning over the back of the set. But the hole goes way back, and bait is placed with the digger trowel so as to be far enough back to make them work for it - and step in your trap in the process.

Now a pic of the covered set, with fencing added to 'steer' the fox and distract from the lumpy shelf made in the snow by digging out the set.

Now some backing to help block the side and rear, some of Dan Kroll's LDC lure on a tree above the set, and done:

As an afterword, I would say that I have some reservations about blocking the approach. Too much fencing can turn the fox off altogether, and not enough will have them digging your bait out from the wrong side/angle. We'll see, after the 1-day scent burn-off waiting period, what happens.
On the way out, I came across a sort of 'trail' that off shoots the actual trail I was walking on. Here's a shot of it. Note the highway-density traffic showing itself...


I chose the thick brush on the left as my approach, to minimize my sign/disturbance of the set area. DO NOT EVER try to walk right down the trail you see here in this situation and try to catch a fox....
Choosing the spot for the set was tricky, as a good anchor close enough to the 'freeway' was hard to find. In this case, I used a tree that was next to the dead stump the arrow is pointing to. Solid enough anchor, and there was a good clump of leaves/ferns and snow at the base which creates a nice addition to your backing and a good spot for a baithole.
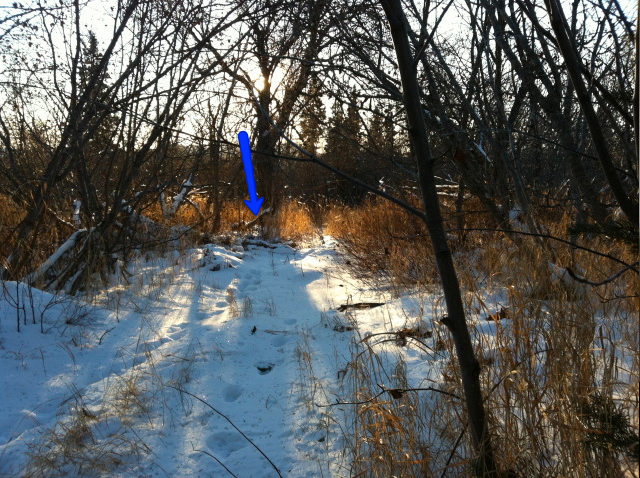
Here again is the sequence of the set-making, and again the set had to be made from the rear, leaning over the backing.
Cleared a spot:

Placed the wax paper and bedded the trap SOLIDLY in the crust beneath:


Laid waxpaper over top (after crinkling it of course) and started covering with snow:


Here is the set with trap covered (though the whole set is NOT covered and smoothed yet, as you can see) and some fencing placed:
Bait goes in hole:
Grass and ferns stuffed in front of the bait (Make 'em WORK for it!!), lure 6 feet above the set on a tree, and finishing touches getting wrapped up on "The freeway set":

Again, we will probably see a one or two day waiting period for the strength of the lure and my own disturbances to wear off, and then hopefully the fun will begin. Like all my fox sets, I will be checking them daily...


