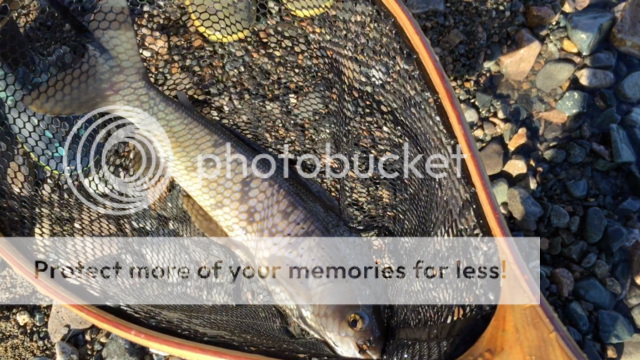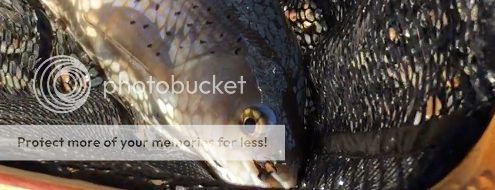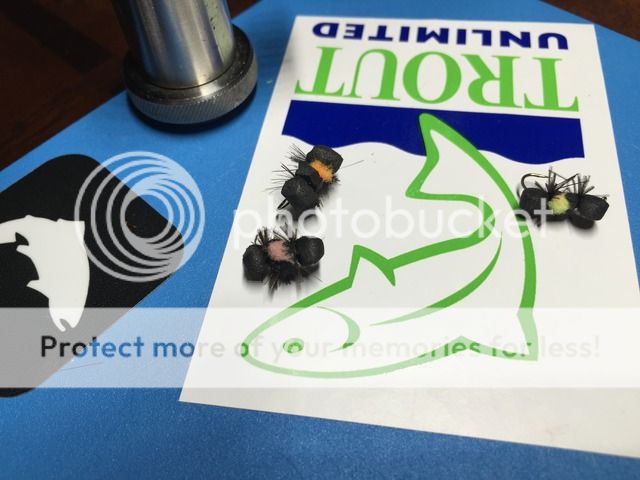
While things are just heating up here on Lake Clark as far as the fishing is concerned, it has suddenly taken an upswing. Not only have we been seeing salmonfly hatches during the midday, but things are warming up enough where terrestrials now seem to be out in full swing. Enter, the Hackle Ant. This pattern is one I found online, and upon tying it up, figured it was a pretty good imitation of a bee, or an ant, or some other chunky crawly critter for that matter, all at the same time. Seemed like a keeper. And based on our first outing fishing it....It sure is.
Like most of the patterns I enjoy tying, this one is fast, simple...and catches fish like a champ, which is always good.
The ingredients are "simple":
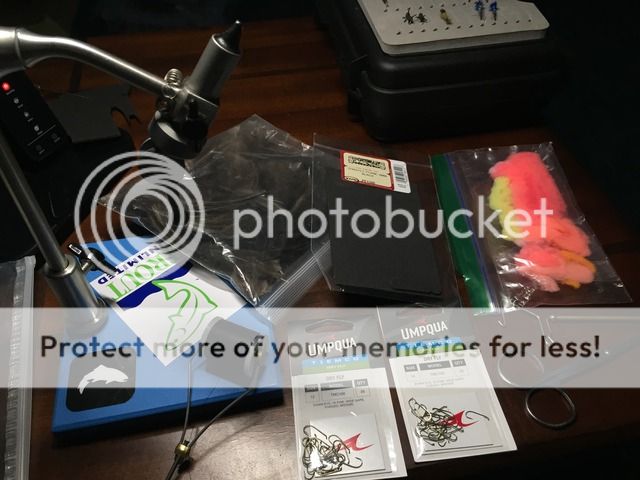
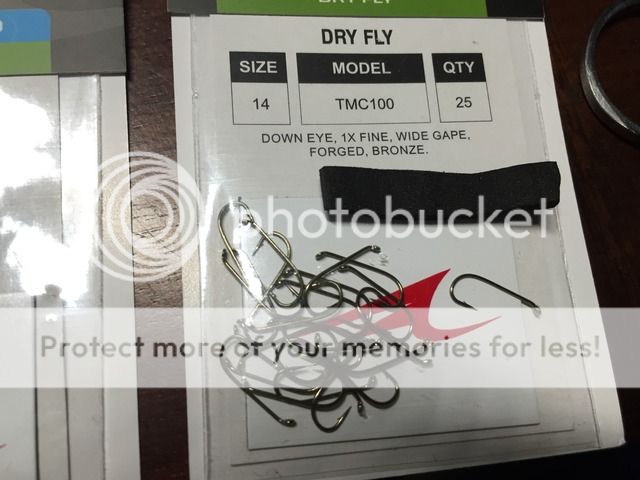
- Hooks of your size and brand choice (Here I used tiemco dry fly hooks in 12 and 14)
- Veevus #6 thread, Black
- Some 2mm Black foam (Here I used Sportsman's Warehouse brand)
- Black or very dark brown hackle feathers of your choice
- Loon Hard Head or other similar fixative
- Some Glo Yarn, if you wish, for placing an indicator on the ant's back. This is not necessary of course.
Once you get the ingredients together, place your hook in the vise and cut a narrow strip of foam that is about 2.5 to 3 times the length of the hook shank - roughly the width of whatever size ant you wish to make :)
Next, build yourself a thin, even base of thread running from just behind the eye to just past the barb of the hook. Dab some Hard head or super glue or Zap a Gap or whatever you use onto this thread, and immediately secure the foam to the hook with a bunch of wraps. As for placement, I like to allow one-third of the foam to stick out both in front of the eye and behind the bend of the hook; so I am basically securing the middle one-third of the foam's total length at this step. The adhesive prevents the fly from spinning on the hook, both now, when you are tying, and later, when the fish are trying to tear it apart. Once your wraps are on, things should look kind of like this:
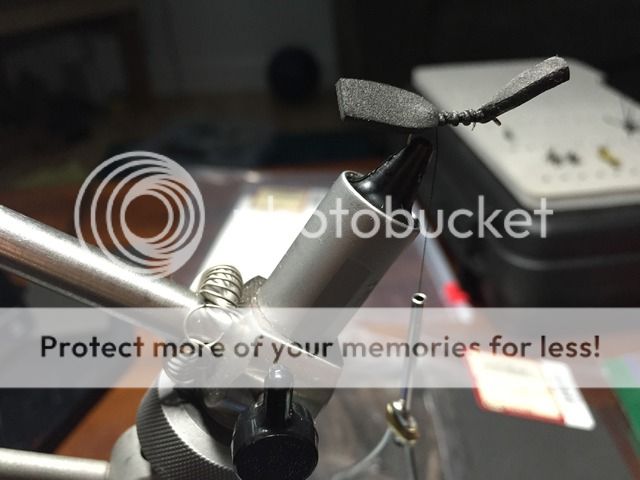
I like to finish that last step with my thread toward the rear of the hook right where the last thread wraps secure the foam to the hook (in picture above). I then bend the rearmost end of foam back on top of itself, forming the ant abdomen. The end of the foam should come a little past the center point of the secured portion. I then bind in the abdomen with some good tight thread wraps. Next, do the same with the front end of the foam. Bend it back, forming the head of the ant. Secure it with more tight thread wraps, and what you end up with is an appropriately sized abdomen and head, with two tag ends of foam meeting right in the middle, creating what will be the thorax:
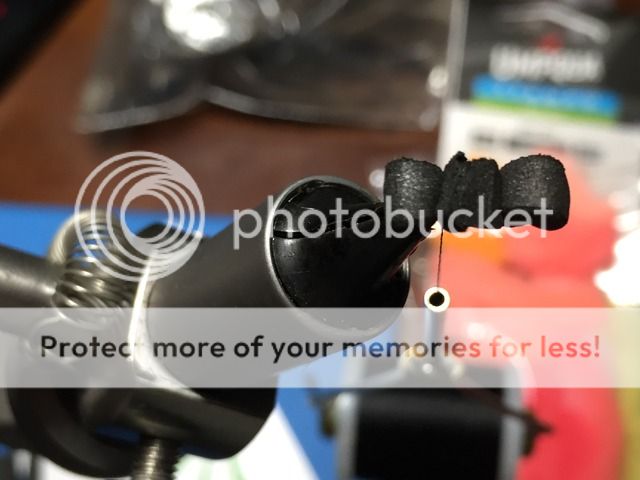
From here, trim the tag ends so that they are flush with each other, and also so that they have a lower profile, not sticking up much beyond what the head and abdomen do when viewed from the side...
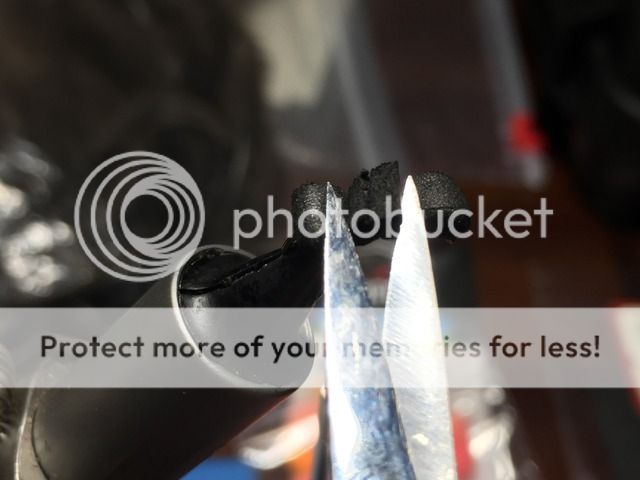
Once they are trimmed, this is where you can add the indicator, if interested. Cut an appropriately sized small chunk of glo yarn:
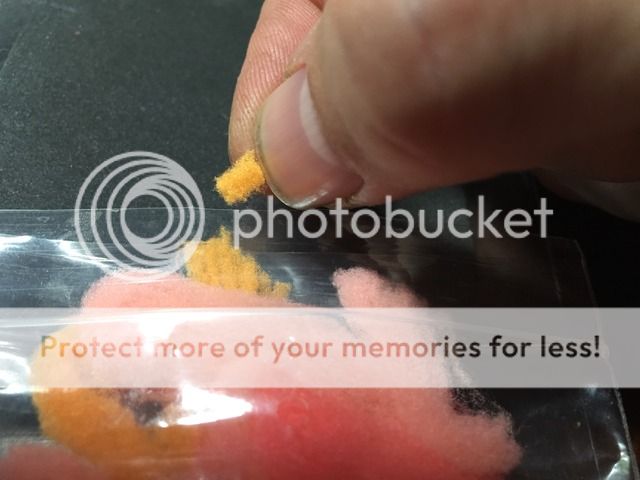
You can then place this over the trimmed tag ends, and secure it by running a thread wrap right through the two tag ends, which will pull the yarn down in between them a bit. Give this a few more tight wraps, all the while being careful to not cinch the yarn tuft down in so far it becomes useless...
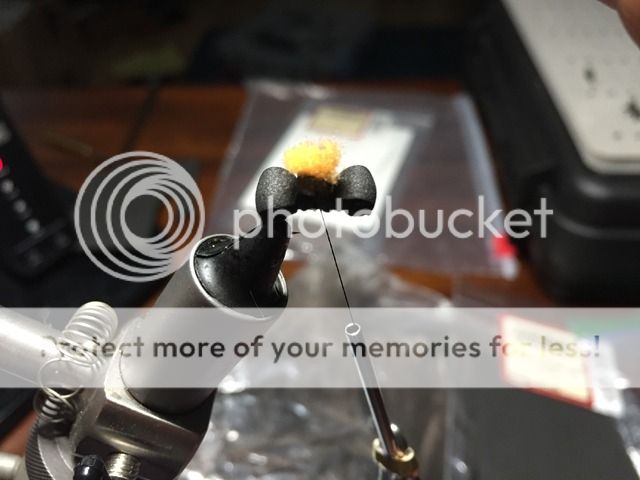
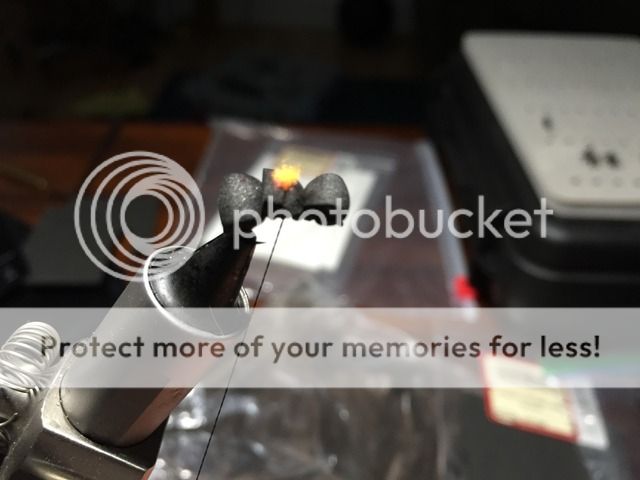
Next, get your thread over to the wraps just behind the head to set up the hackle legs. Then select a hackle feather, trim it and prep it accordingly:
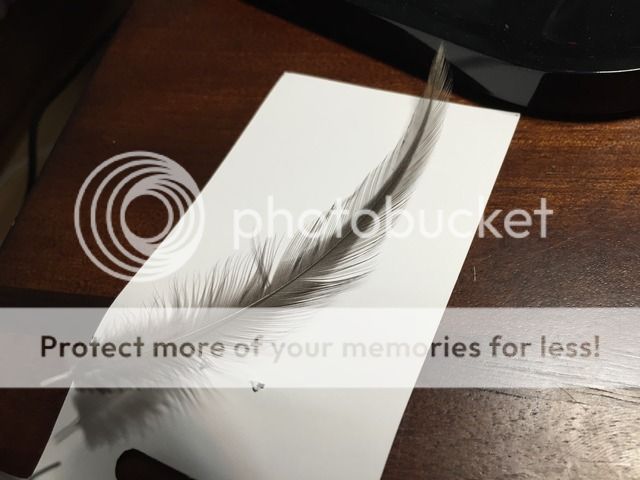
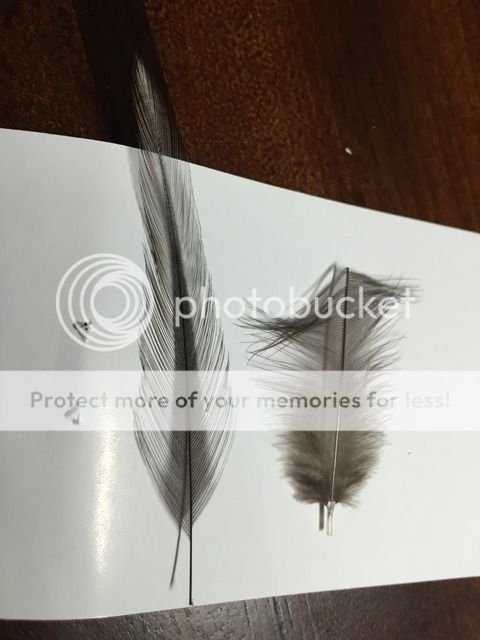
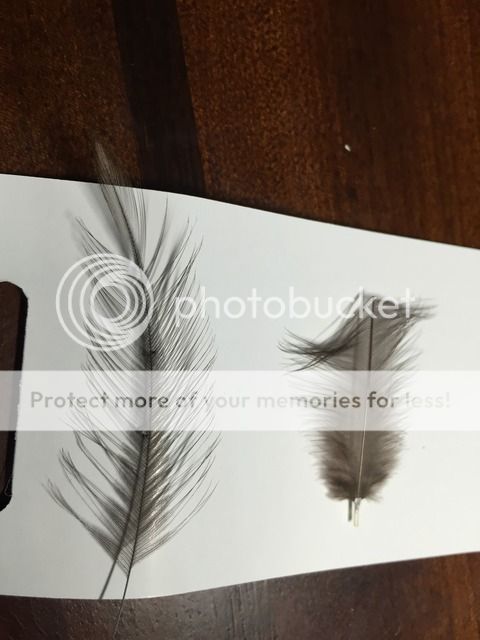
Then tie in the base of the stem behind the head and secure it with 2 or 3 wraps of thread.
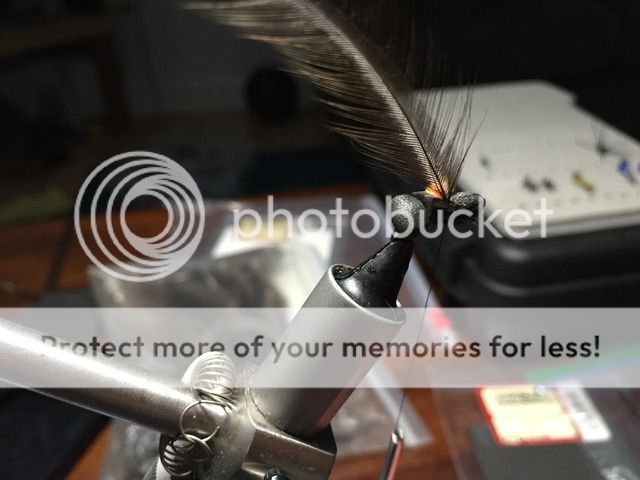
Wrap the hackle two turns around just behind the head, then cinch it in with a couple more wraps of thread. As you come around the body on the second wrap, swing the hackle feather under the body to prepare for two wraps just in front of the abdomen as well, also securing this with your thread when done. Hackle pliers may be helpful here, depending on your fingers and the size of the ant you are making...
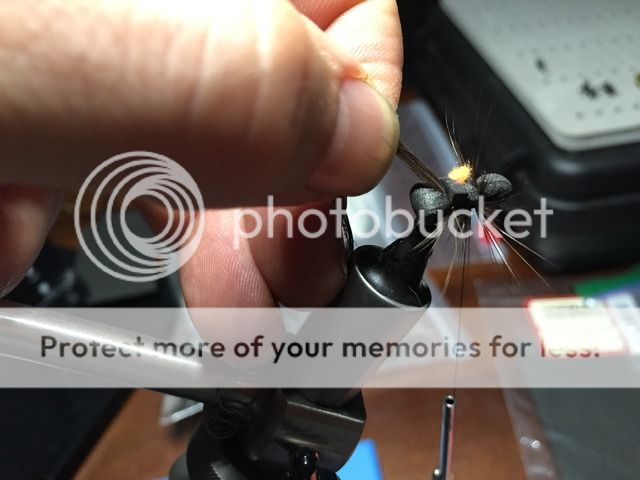
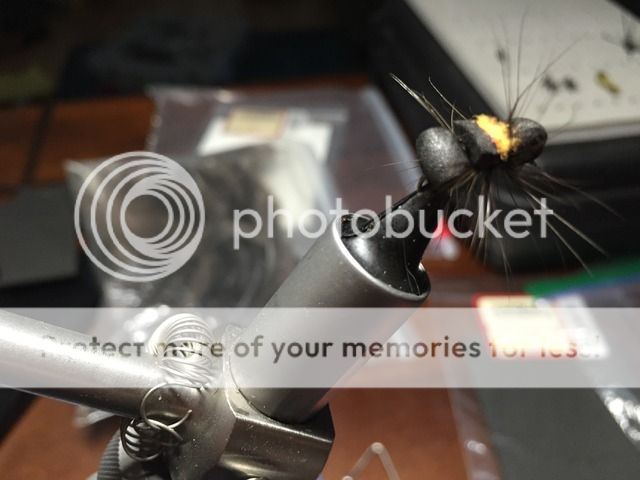
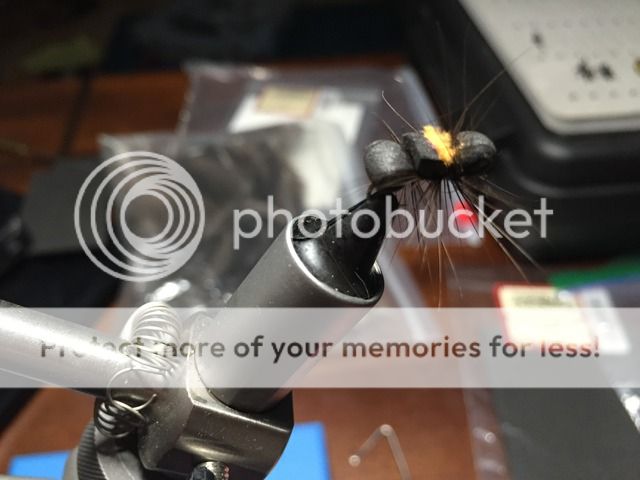
Now, these are some super long legs, that we need to trim. In addition, we can trim just the corners of the head and abdomen to round them off a bit and give them shape.
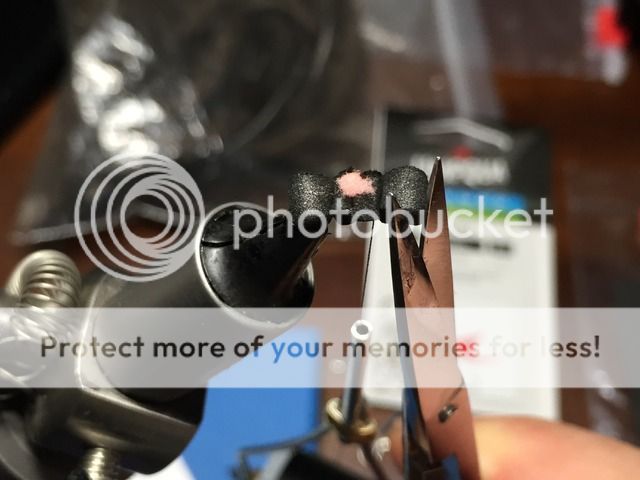
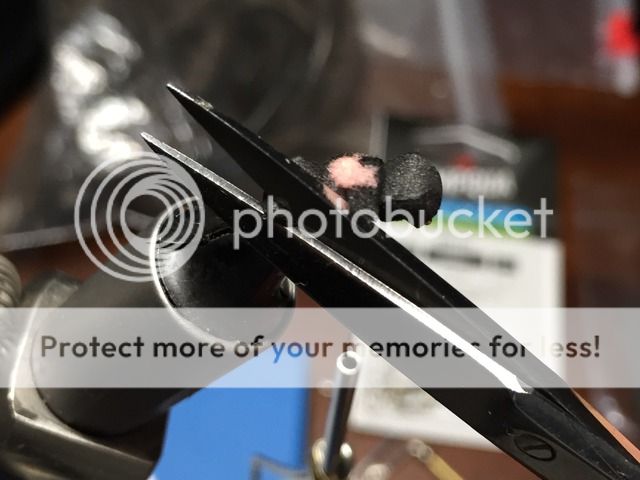
When done, you should have an Ant/Bee/Beetle/crawly critter...presenting, the Hackle Ant!
Does it work you ask?...time and time again... ;) :)