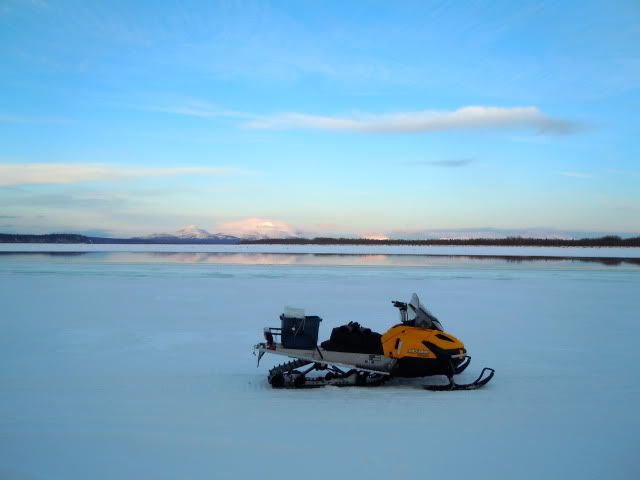
As I am currently laid up with two herniated discs pressing into my sciatic nerve making everything but laying down miserable, there is naught for me to do trapping-wise except modify and build equipment for some untold time in the future when I can actually use it. After my last trip out (photos at bottom of post) for a weekend of trapping, the snowmachine ride put me down for a while again. So I figured I'd throw together some pics of my preferred snare-making procedure. I am still refining it, but it has been successful so far.
To begin, I will list the tools and materials:
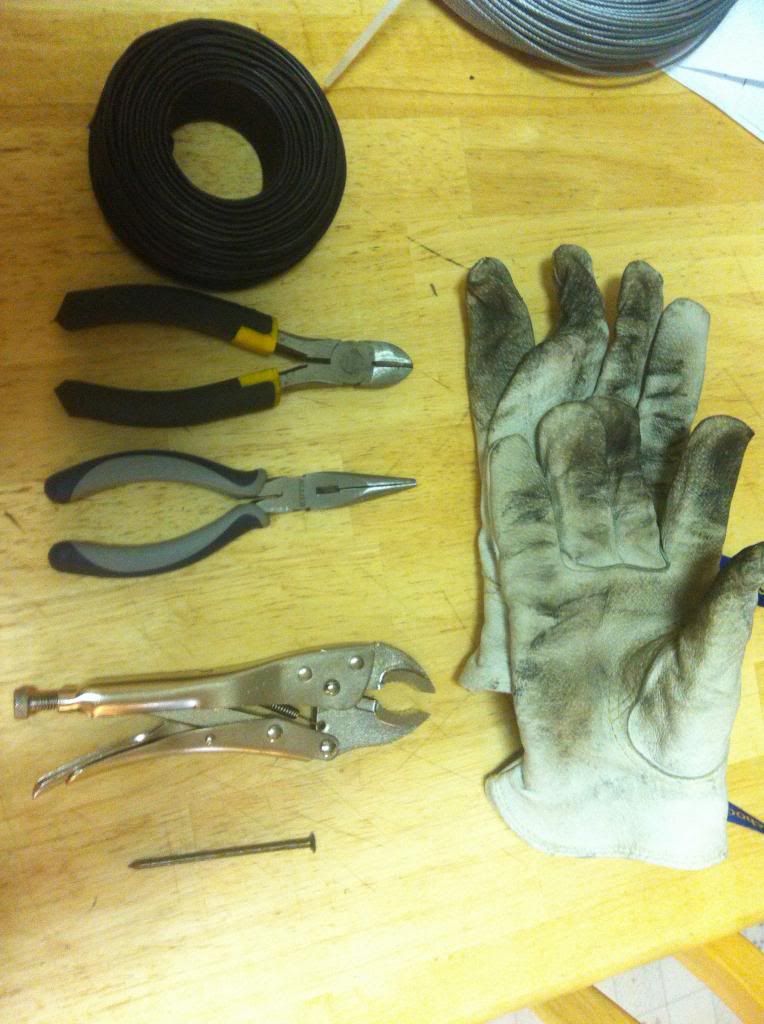
First, you need wire appropriate to use as a hanger/anchor for the weight snare you are using. In my case, as these will be fox/lynx snares, this is 11ga. wire. You will also need a pair of wire cutters, a pair of needlenose pliers, a pair of vise grips, a large nail or similar instrument, and some gloves. (Trapping wire is SUPER greasy, and it's easier to not have to scrub it off your hands.) Missing in this pic is a heavy, two-handed crimping tool for crimping ferrules. (Kind of looks like a pair of bolt-cutters) ...I'll try and add a pic of that later.
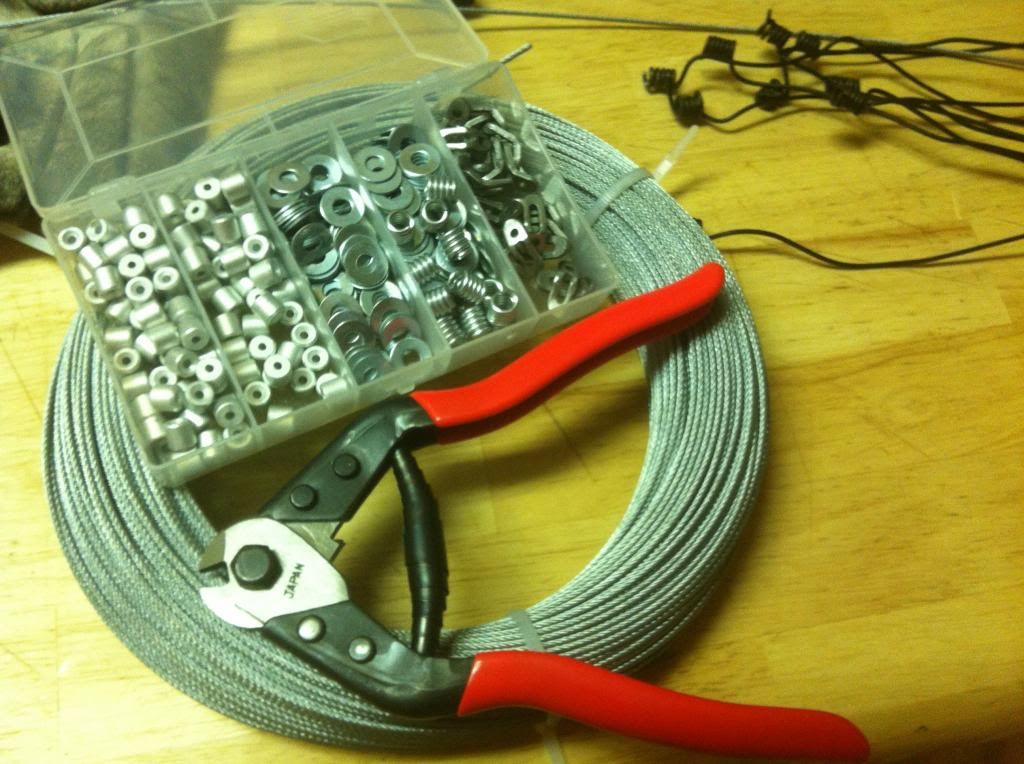
In addition, you will need all the necessary parts for the snares themselves:
Galvanized aircraft cable, for one. Here, I am using 5/64, which is a little larger than the 1/16 I prefer for fox and lynx, but I have found 5/64 more versatile for many more animals, and so always keep a spool of that around. After the cable, you need a pair of cable cutters (don't use pliers to cut cable, unless you want to have trouble feeding ends through stuff - and don't use cable cutters to cut wire, unless you want to dull them and buy more). After the cutters, you will need an assortment of locks, washers, and either ferrules or annealed nuts - and all of those must of course be the appropriate size to fit the cable you have.
I start by cutting lengths of support wire (here, the 11 ga. stuff) to what I feel is adequate for most hanging/anchoring situations. In this case, I will use about 30 inches, which will seem excessive in some cases, and will fall short in others, when you see that spot that is just 'perfect', but need more wire to set it up right. The target animals you are after and thus, the size of the support wire you are using, can be a factor here. At any rate, I cut the lengths I want. I then vise grip or clamp the nail from above to the table/workbench so it will not move. At this point, I take one end of the cut length of wire, and begin wrapping it around the nail, trying to keep the coils as tight as possible. You can use the needlenose or your hands here. The more practice you get, the tighter the coils you make will be. You can cinch them up later though, either way, as I will show. What you should see, depending on your work area, equipment, and left-or right-handedness, is this:
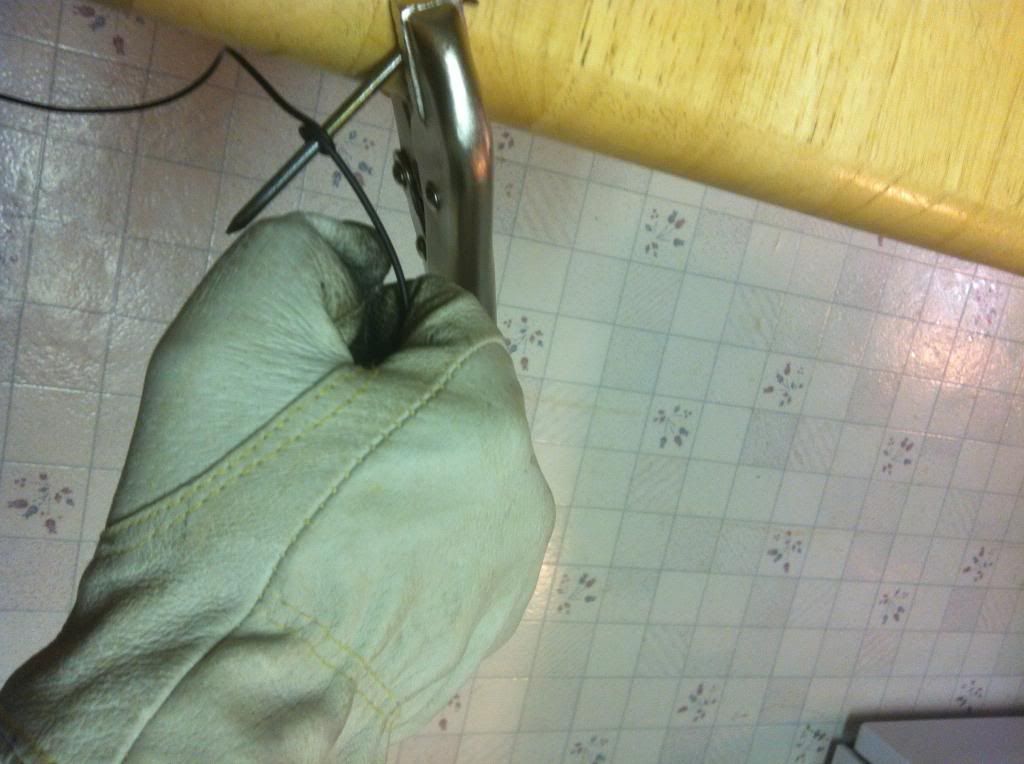
Make 5 - 7 tight wraps around the nail, and you should now see something like this:
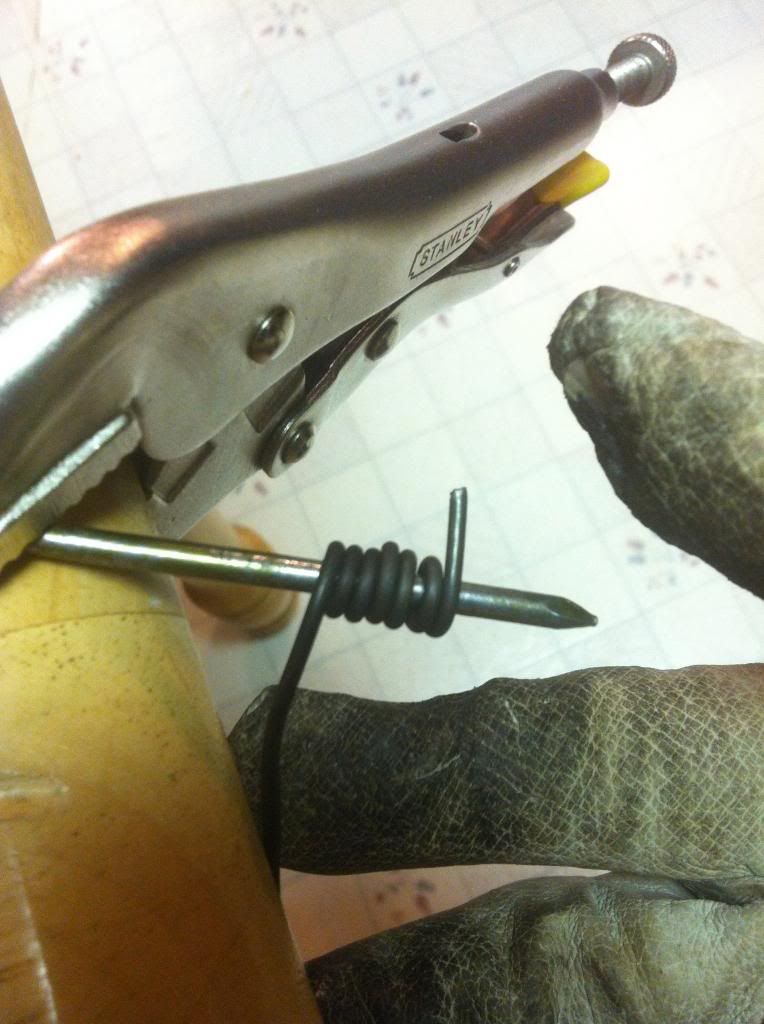
You have now created a 'pigtail', which will serve as your hanger/anchor for your snares. I like to make up a bunch at a time and then go to town with the next step:
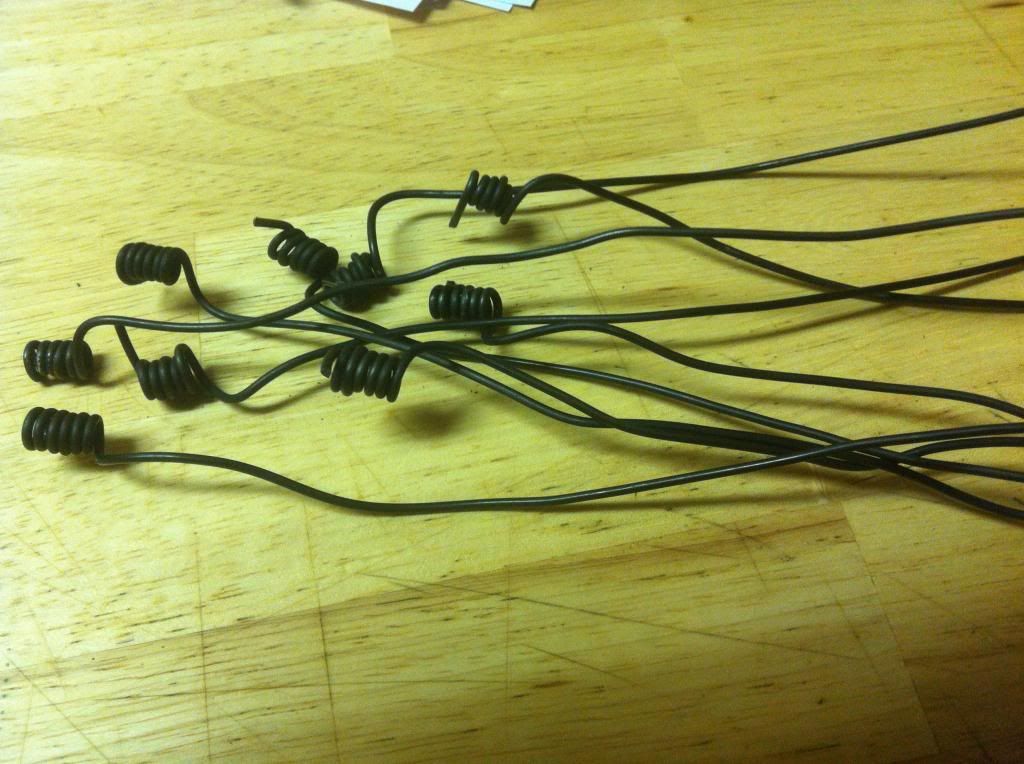
Now is the time to cut off straggly ends of the pigtails, and cinch them up so the coils are tight together, as shown:
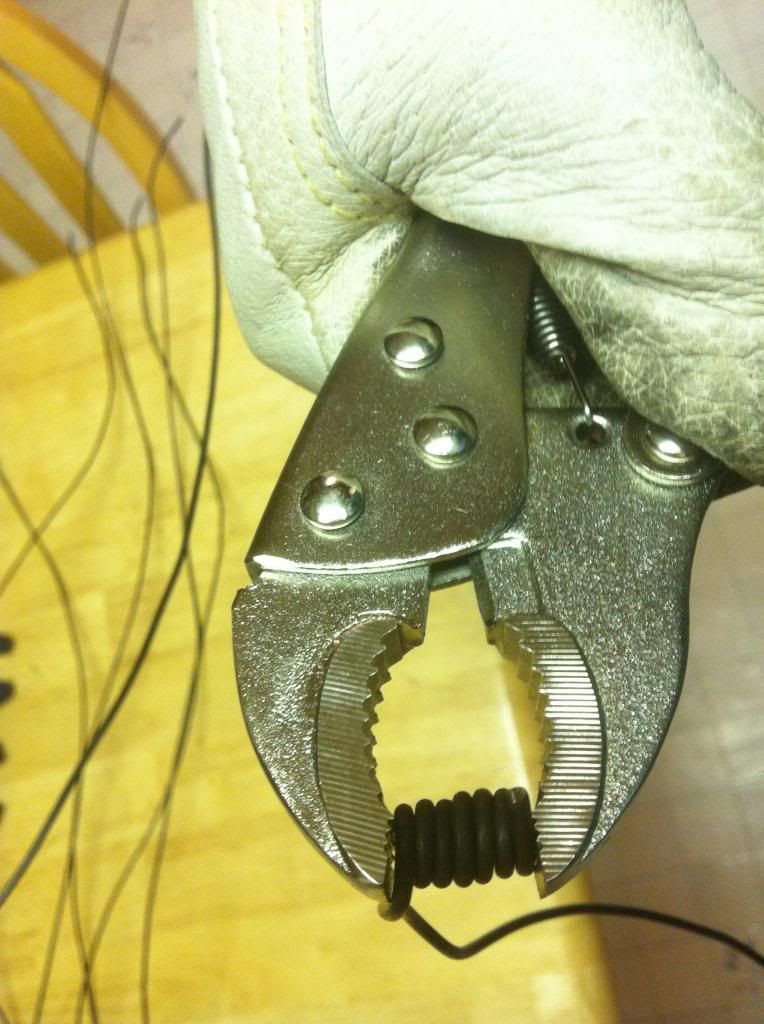
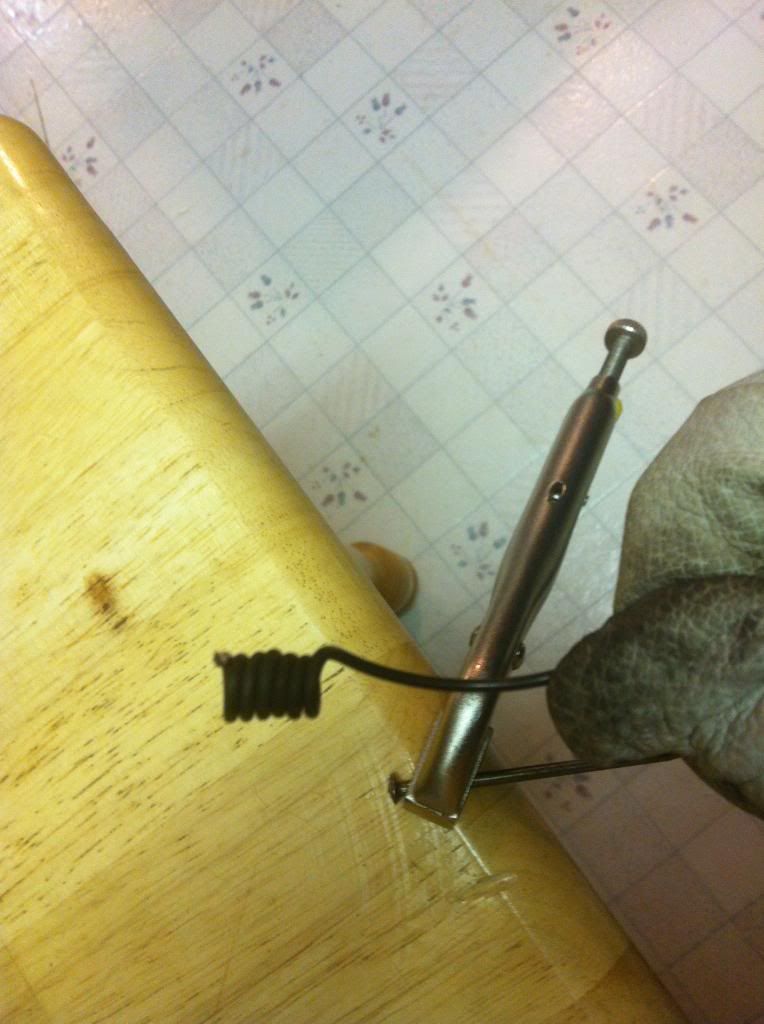
Now, we are ready to cut lengths of our cable to the proper size required of the snares we want to make. This is going to vary with the size of the critter you are targeting, based upon head/ear size, just as the height off the ground you will hang the completed snare will change from, say, a fox to a wolf. If, for example, I am making up a bunch of snares for possible use on fox and lynx, I will cut enough cable per snare to make a loop anywhere from 8" - 11" wide.
Once those are cut, I slide one end through the pigtail we made on the support wire. Then on the end of that cable that I stuck through the pigtail, I slide on a washer and either crimp on a ferrule, or hammer on an annealed nut. In this photo, I used the ferrule option.
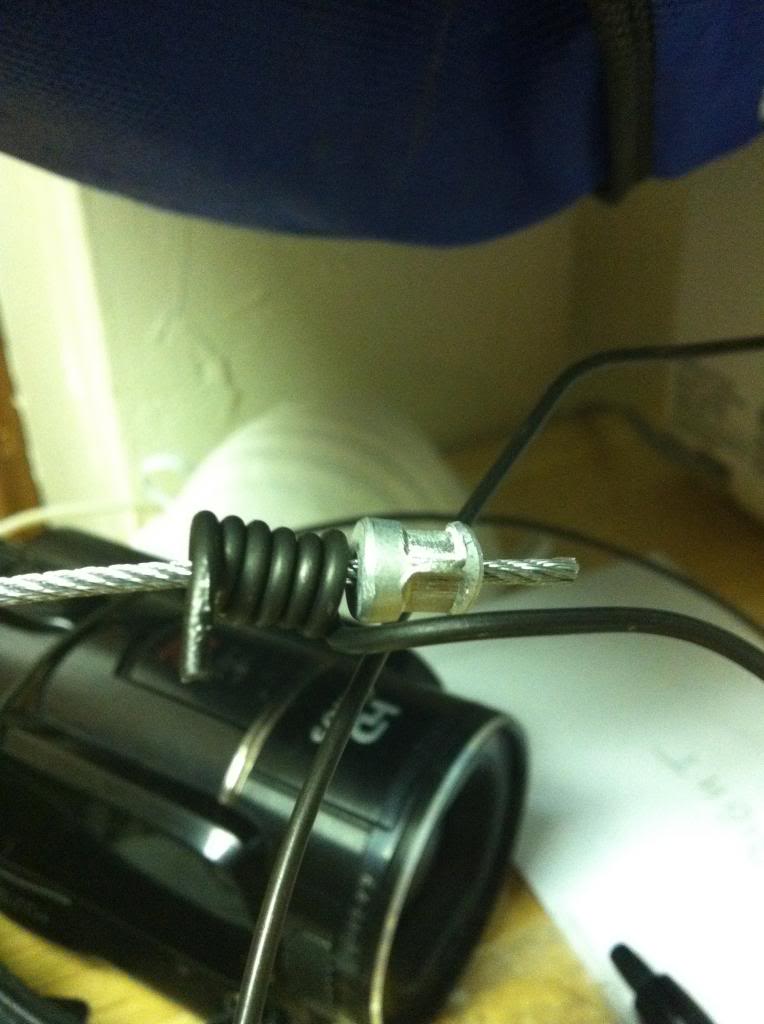
Ferrules are bigger and more noticeable to the eye, but if you boil your finished snares in spruce boughs you can give them a darker tinge that solves that issue. The boiling is a good idea anyway, to get rid of any scent you put on them during all of this.
Next, take the other end of the snare cable, and slide on a snare lock in the appropriate direction, so that when you finish up the snare loop, and pass the other end through the lock, it is oriented correctly. This will form your snare loop:
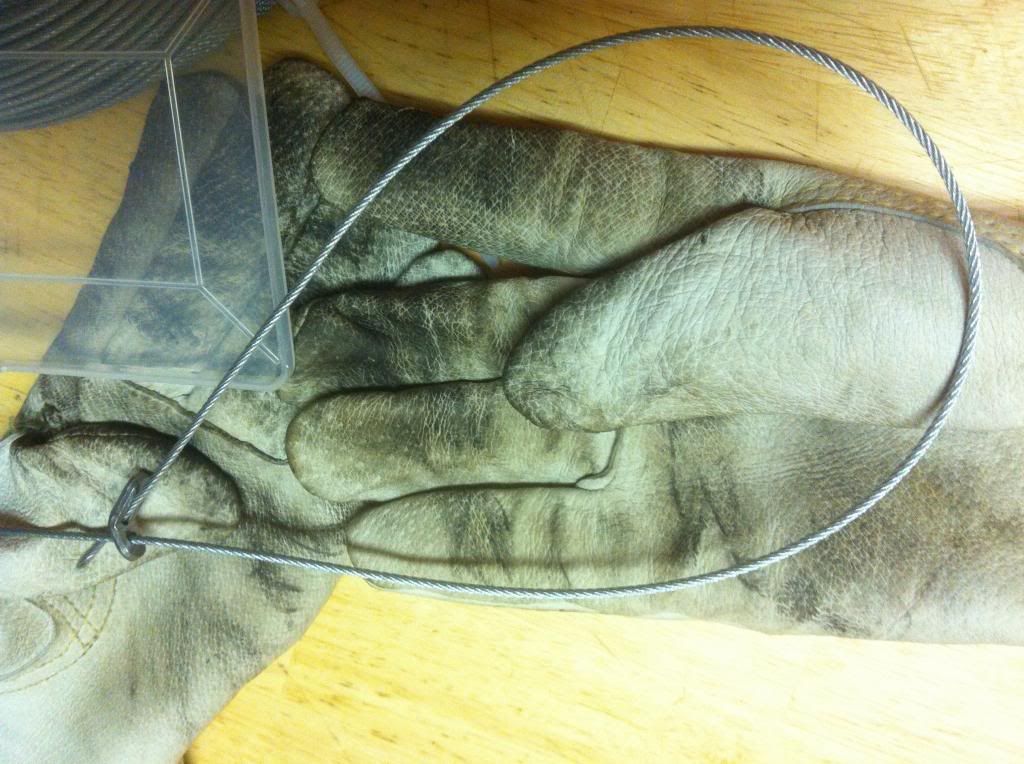
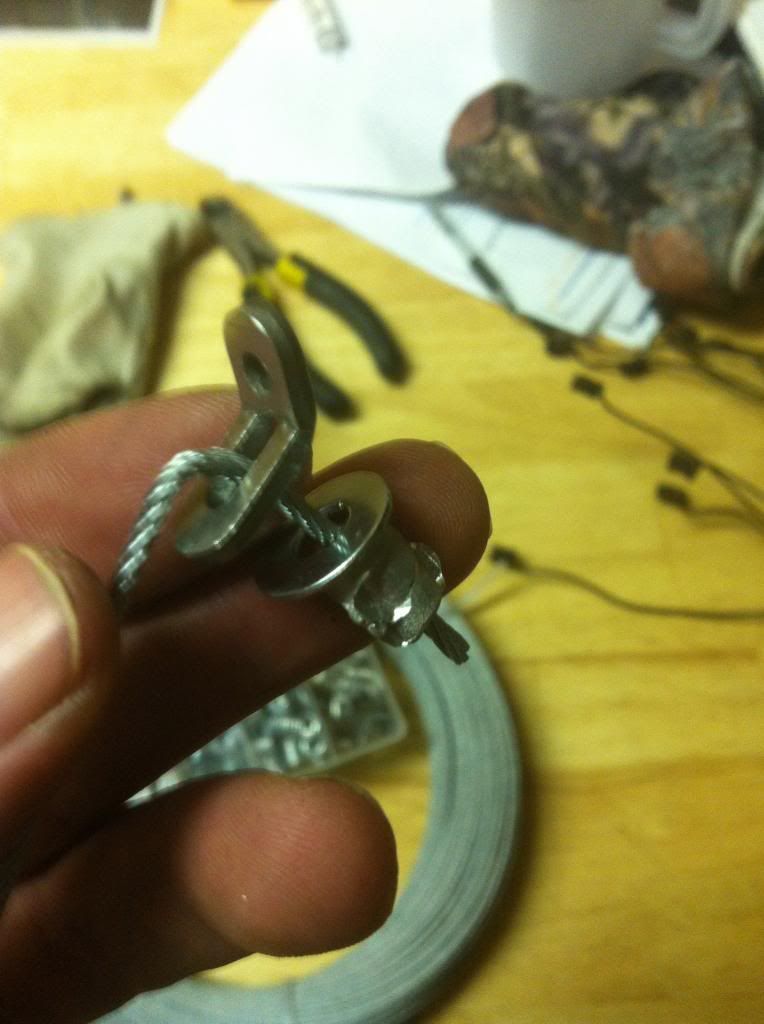
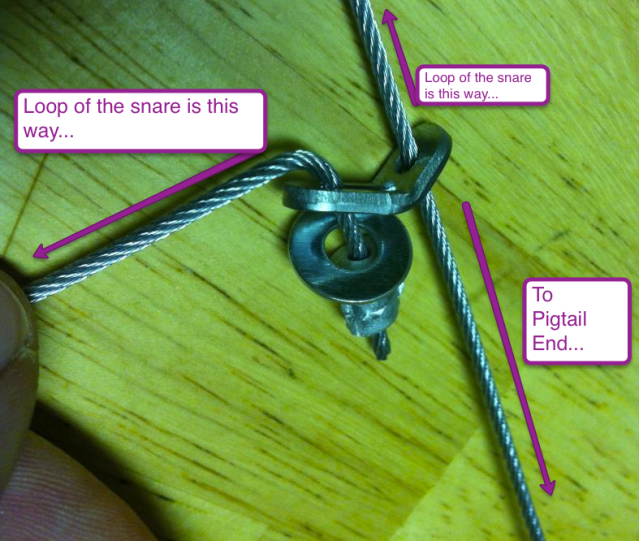
The next step is to either crimp on a ferrule or hammer a nut onto this, the lock end of the cable. Don't forget to put on the washer between the lock and the ferrule! When all that is attached, take the needle nose pliers and put a bend in this lock-end of the cable so that it makes a permanent kink, and the cable gets a dog-leg in it where it comes through the lock:
Our pigtail end is already fastened, and now that we have created the loop and fastened the lock end of it, we have this:
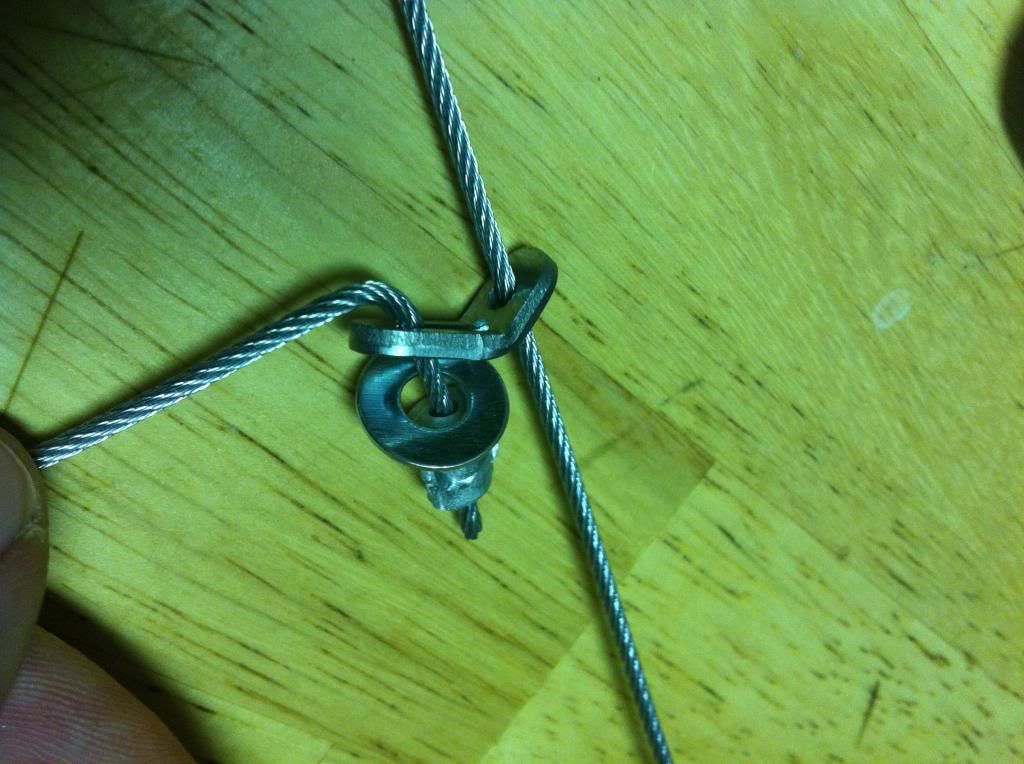
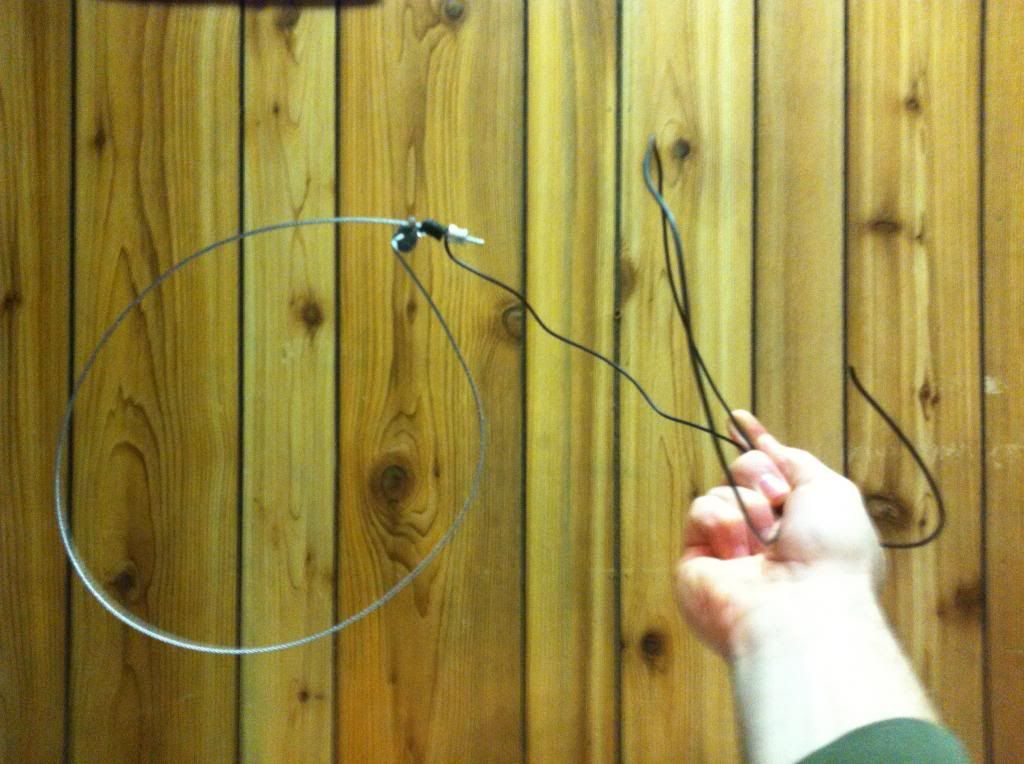
Your snare is now almost done. The only thing left is to "load" your snare loop. This involves putting a little 'memory' in the cable so that it curls better, kind of like putting curls in Christmas present ribbons, only nothing so intense as that... :) This "loading" creates a better circle, and allows the snare lock to slide easier down the loop when an animal starts the process - in fact, when your snare is triggered, the lock will almost JUMP down the loop if this is done optimally. So before this process begins, the loop would hang more teardrop-shaped, like in this picture from above:

What we want to do is grab the snare loop with one hand on each side of the loop, keeping the lock in the fully open position. Then we will hang the loop on a nail that is stuck in a wall or table, etc.
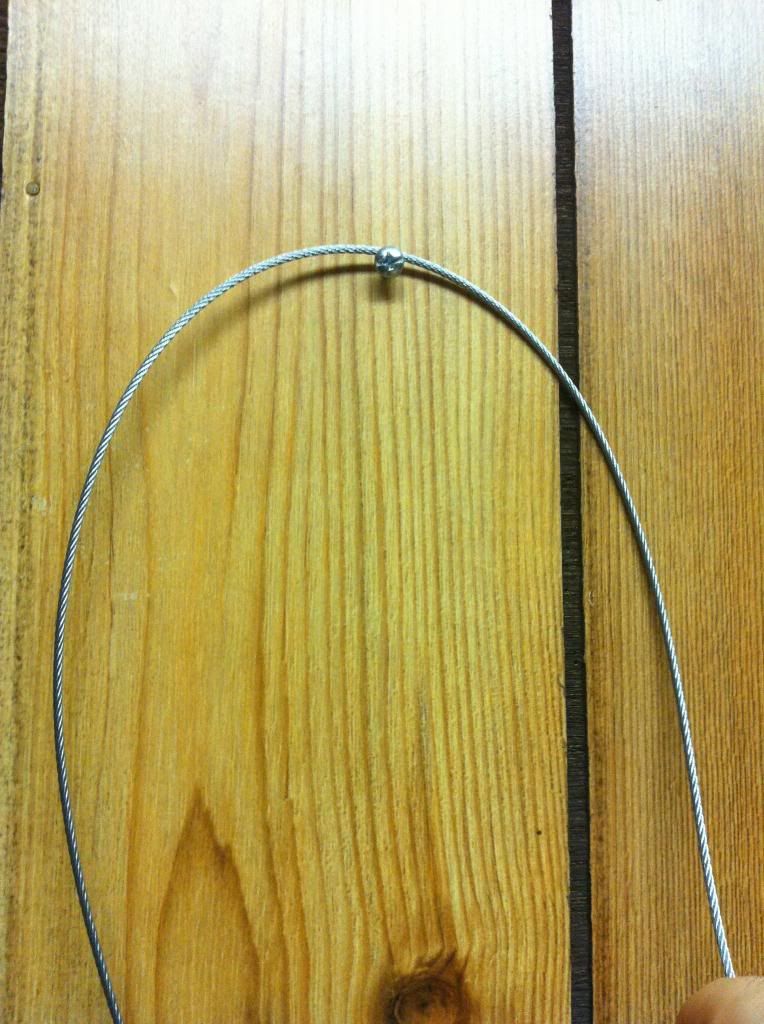
Notice - the picture above is only for illustration, as you'll notice a screw instead of a nail. The principle can still be shown with a screw, but a nail is preferable to a screw because the threads on a screw will mess with your woven cable strands)
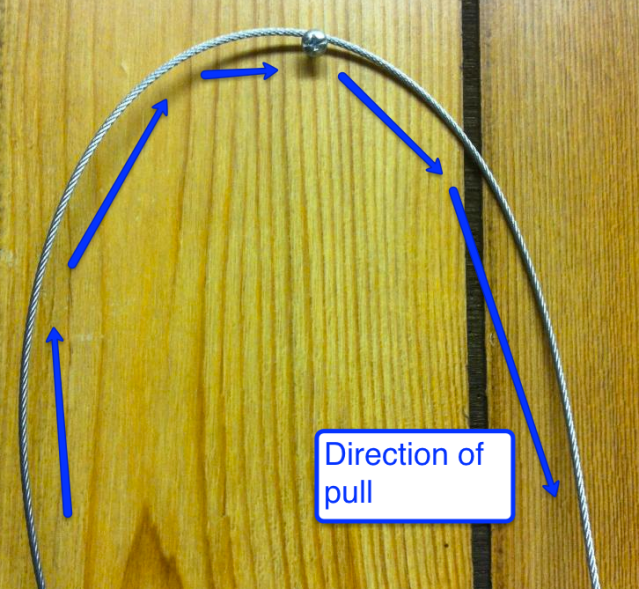
With the lock end of your loop in your right hand, pull down fairly lightly and steadily on the cable, and slide the loop over the nail while rotating the loop clockwise. The arrows in the picture show the direction of travel:
Successfully loading your snare will result in a rounder (or at very least, more oval), rather than a teardrop-shaped loop. Kind of like these though they certainly are not perfect:
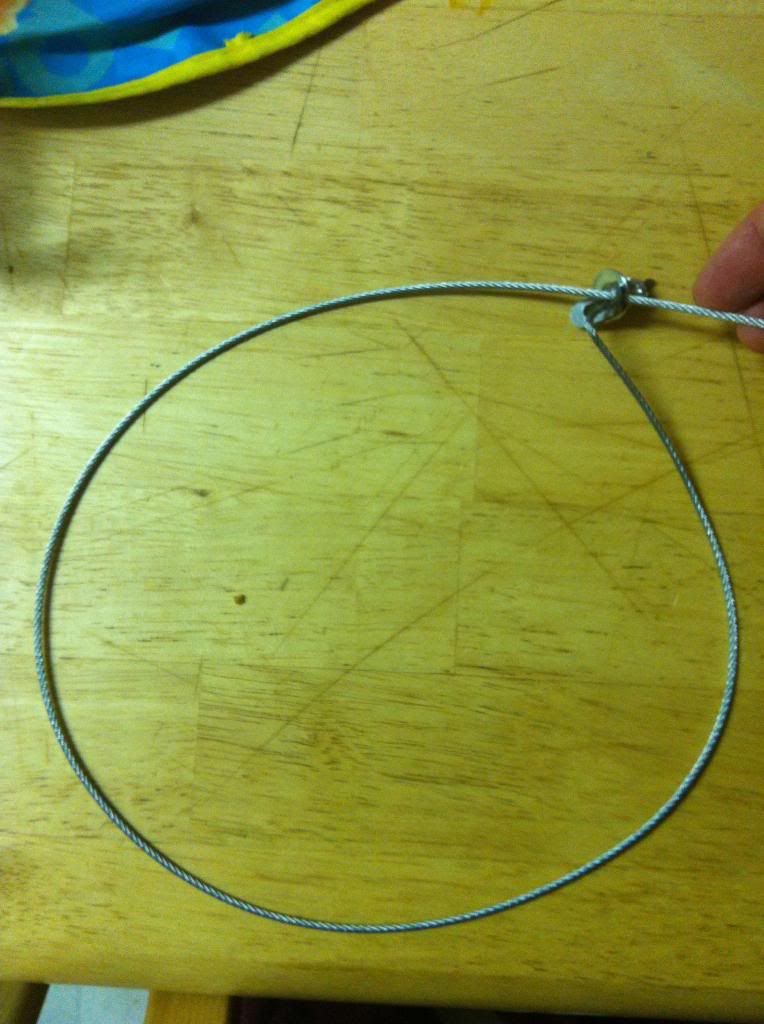
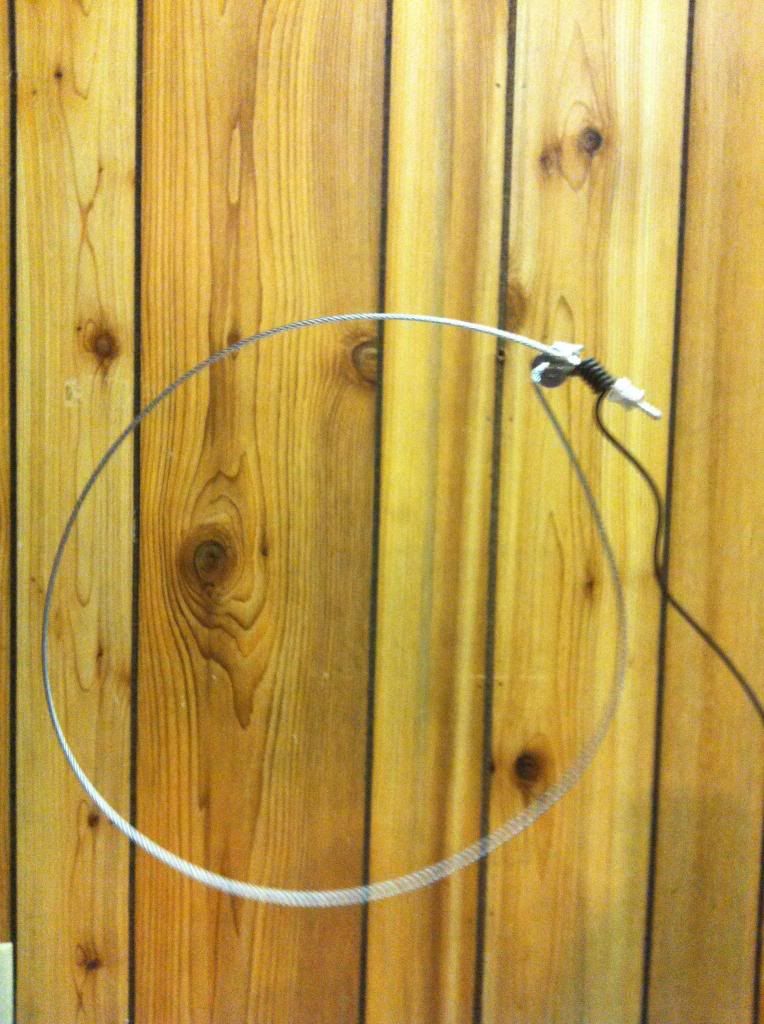
There is a limit to how much you can 'load' before seeing a twist in your snare. Practicing will help get the pressure and number of passes figured out - but will vary with different cable, different sizes, etc.
Now you have a one-piece snare-and-support-wire combo that is easy to deal with, faster to set than a separate snare and wire setup, and easy to store on your way out on the 'line.
I like to use the outside of a coffee can or other cylindrical object, which can store a bunch of snares in a reasonably small space on your snowmachine (or your pack), and they are tangle free! Illustrated here is a spool of twine, which was closer to my reach than a coffee can at the time I took the pics: :)
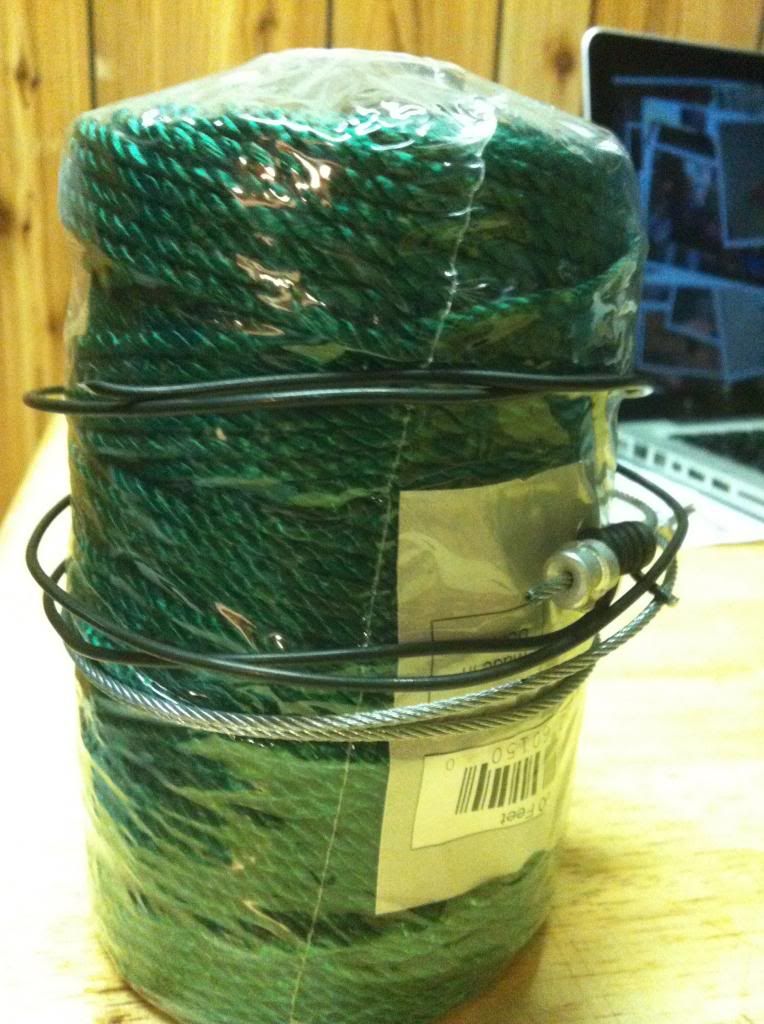
Just cinch the snare loop tight onto the cylinder/can, and then wrap the extra cable and wrap the wire tightly around it after that. space each one out a bit or mark which end to start on, and you can unroll a one-piece setup with no tangling, anchor it and fence/camouflage it in seconds, with no cutters/tools needed. Much Faster this way!
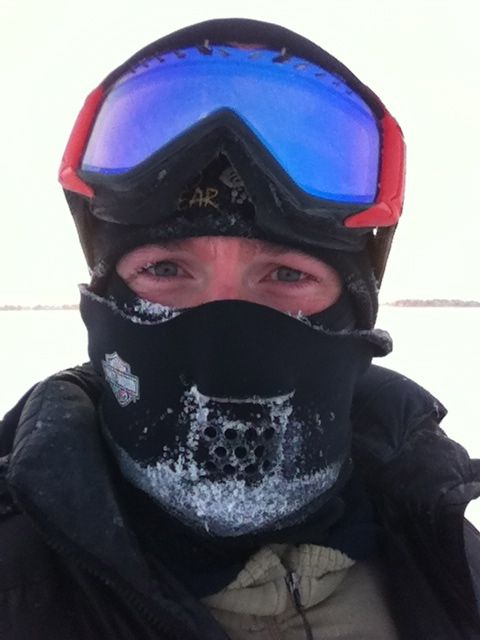
Now, as for the the snowmachine ride that broke THIS camel's back, it was a good one. I thought all was back to the new normal after being sidelined for about 8-10 weeks. I was wrong. Looks like a snowmachine ride, trapline style, jolts your spine much, much, more than I thought it would. I rode out on a weekend (both days), and on Monday could hardly get out of bed. AGAIN. It sucked. But anyway, on what was perhaps my last trip out for the season, I had fun - even though I froze my left eye shut while it was inside a helmet and partially under a balaclava!!! Was nearly 40 below. Then I went to a mask, Harley windshield wrap, and goggles. Sort of helped - see the red face, but no frozen eyelids!!! :D
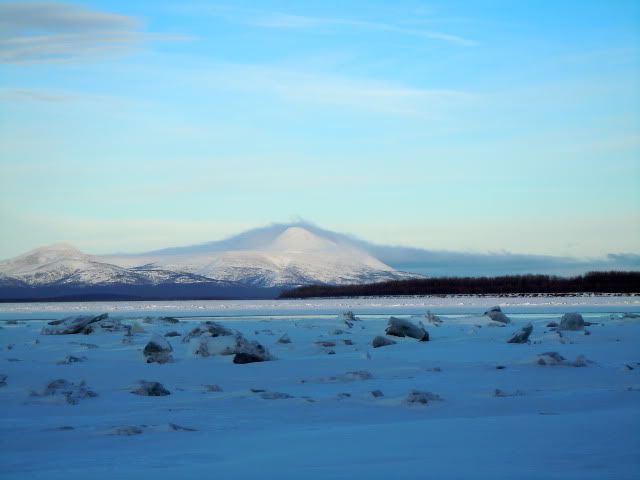
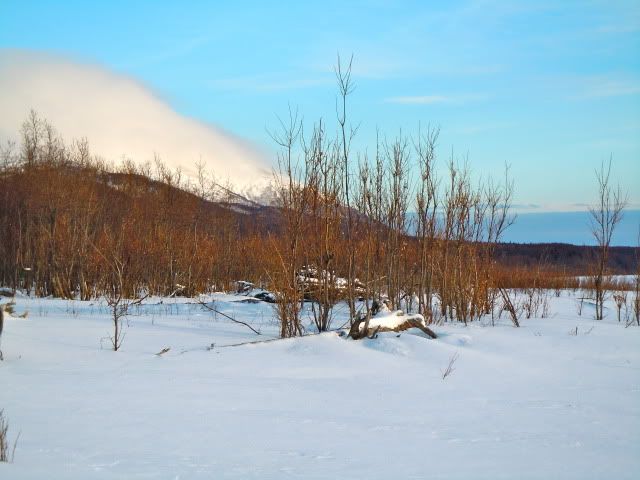
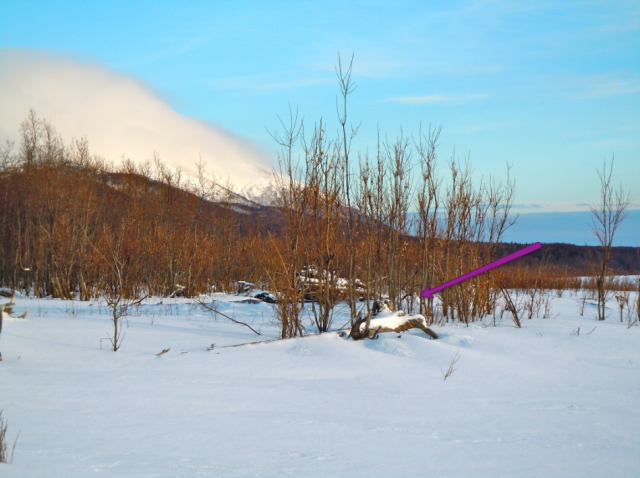
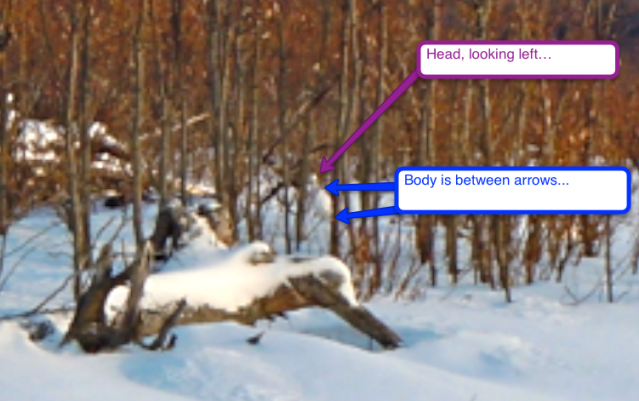
Saw 8 moose while I was out - happily they were all going the other way...and caught a nice sunrise into the bargain.
Glad it was memorable, as it was likely the last one of 2012-13.... :(
